
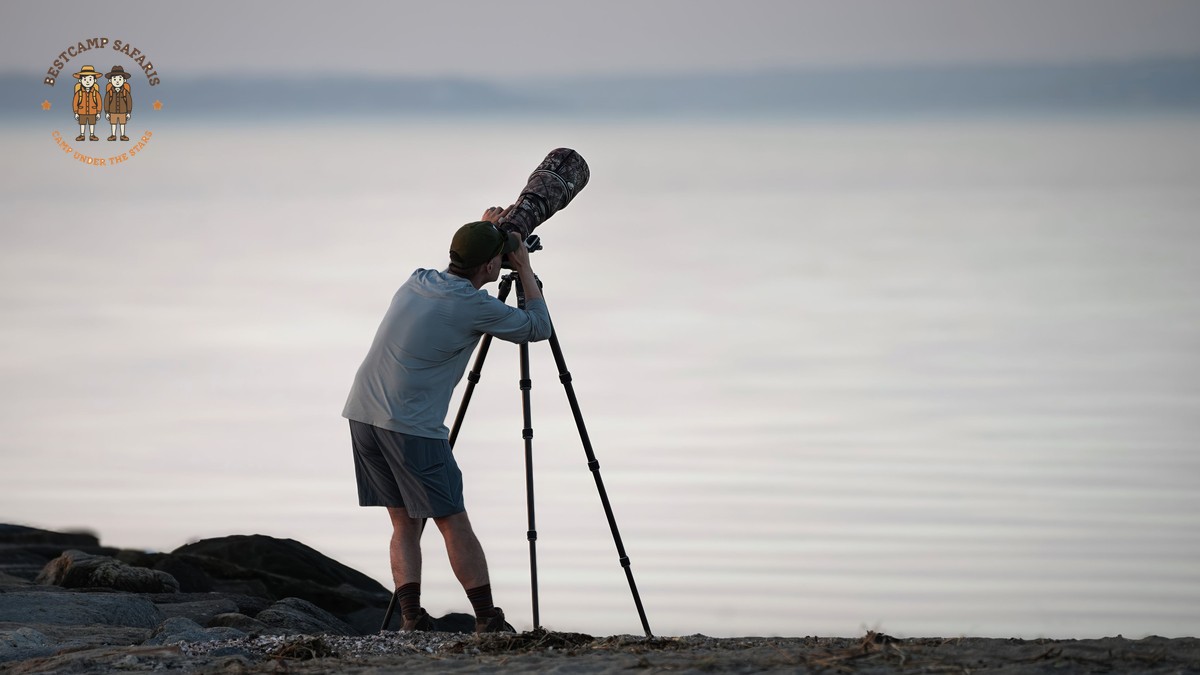
 Wildlife Tours
At 5am the canvas of a mobile tent turns from black to grey. Camp staff move flasks of coffee onto a table before the game drive briefing. That is when guests start asking about the best lens for safari photography, usually while repacking a bag they already know is too heavy. It is the right moment to ask. In an hour you will be parked at a river crossing on the Mara. The lens on your camera is the only variable you still control.
Every gear blog tells you to buy a 600mm f/4. Almost none of them have weighed a camera bag against an actual Cessna Caravan luggage limit. Few have watched a guest miss a leopard because a zoom could not rack fast enough in low light. This post is written from camp, not from a review desk.
The Best Lens for Safari Photography: What Focal Length Actually Works in Kenya
For most safari photography, something in the 100-400mm or 200-600mm range covers 90 percent of real sightings. Lions and elephants often let vehicles approach within 15 to 20 meters. You rarely need 600mm reach for them. Birds, cheetahs on a termite mound, and anything across a valley are a different story.
A 100-400mm lens, on a full-frame body, handles the Mara’s open plains well. It stays light enough for a full day on your lap. A 150-600mm or 200-600mm lens gives you more pull for skittish subjects like servals or a distant leopard in a tree. That reach costs an extra kilogram and slower autofocus in dim light.
Safari Lens Tiers Compared
| Tier | Example lens | Focal length | Weight | Typical price (used to new) |
|---|---|---|---|---|
| Budget | Tamron 100-400mm F4.5-6.3 Di VC USD, Sigma 100-400mm F5-6.3 DG DN OS | 100-400mm | 1.1-1.4 kg | USD 700-1,100 |
| Mid-range | Canon RF 100-500mm F4.5-7.1L IS USM, NIKKOR Z 180-600mm f/5.6-6.3 VR | 100-600mm | 1.4-2.0 kg | USD 1,300-2,700 |
| Premium zoom | Sony FE 200-600mm F5.6-6.3 G, Canon RF 200-800mm F6.3-9 IS USM | 200-800mm | 2.0-2.3 kg | USD 2,000-3,000 |
| Professional prime | Canon EF 600mm f/4L IS III USM, Nikon Z 400mm f/2.8 TC VR S | Fixed 400-600mm | 3-4.7 kg | USD 9,000-13,000 |
Prices shift with currency and used-market supply. Treat these as indicative ranges rather than fixed quotes.
The 15kg Problem: Luggage Limits on Light Aircraft
Here is what no camera review site mentions. If your itinerary includes a fly-in transfer between camps, most light aircraft operators in Kenya cap soft luggage at around 15kg total. That limit includes your camera bag, clothes, and toiletries. It rules out packing both a 400mm f/2.8 and a 600mm f/4. Even one professional prime, plus a body and a second lens, can push you close to the ceiling before you have packed a single shirt.
This is why most working photographers we host choose one flexible zoom, not two primes. A 200-600mm zoom at around 2kg leaves room for a wide lens, a rain cover, and actual clothes.
How Much Reach Depends on Where You’re Driving
Reach requirements change with the type of area you are in. In fixed-track reserves like Masai Mara National Reserve, vehicles must stay on marked roads. Animals further off the track need real focal length to fill the frame. In private conservancies bordering the reserve, such as Naboisho or Mara North, guides can approach wildlife more closely off-road. That means a shorter lens can still get a full-frame shot.
That distinction matters for budgeting too. Masai Mara National Reserve is run by Narok County Government rather than Kenya Wildlife Service. Non-resident entry costs USD 100 per adult per day from January through June. That rate rises to USD 200 per adult per day from July through December, during peak migration months. Conservancy fees usually run USD 80 to 150 per person per night, bundled into the camp rate. If your trip leans conservancy-heavy, you can often carry less glass and still come home with strong frames.
Prime vs Zoom: Do You Need a 600mm f/4?
Professional 600mm f/4 and 400mm f/2.8 primes are extraordinary lenses. They autofocus fast and gather light beautifully at dusk. They separate a subject from the background like nothing else. They also cost more than a small car and weigh close to 5kg with a body attached. They are awkward to hand-hold for a ten-hour game drive.
Unless you are shooting for publication or already own one, skip the primes. A modern 100-400mm or 200-600mm zoom will get you 85 to 90 percent of the same result. Today’s high-resolution sensors let you crop in post. For most guests booking a week in Kenya, a rented 100-400mm is the honest answer, not the 600mm prime the influencers push.
Crop Sensor vs Full Frame
A crop-sensor body multiplies your effective reach. A 100-400mm lens behaves closer to 150-600mm on many APS-C cameras. That is a real advantage for reach-limited situations like distant leopards. The trade-off is weaker low-light performance at dawn and dusk, exactly when the light in Kenya is best. If you already own a crop body, do not buy a longer lens just to compensate. Use what you have and manage your distance instead.
Shooting From the Vehicle Changes Everything
Your vehicle shapes your shot as much as your lens does. A Land Cruiser with a pop-up roof hatch lets you stand and shoot over the vehicle roof. A bean bag draped across the frame gives a clean angle even with a longer lens. A closed safari van with sliding windows forces you to brace against the window frame. That works fine for shorter lenses but gets shaky past 400mm without a window clamp. It is worth understanding how your vehicle affects your shooting angle before you commit to carrying heavy glass.
A simple bean bag is still the most reliable stabilizer we see used in camp. Fill it with rice or dried beans on arrival rather than flying it in full. Monopods work in a roof hatch but are hard to brace inside a van.
One safety note that gear guides skip entirely. At river crossings during migration season, guests lean for a better angle on hippos in the water. Always check with your guide on the safe distance for photographing hippos before getting closer than they advise.
Protecting Your Gear From Dust and Heat
Dust is a bigger threat to your lens than rain for most of the year. Masai Mara tracks turn to fine red dust in the dry months, and it works into zoom barrels fast. Carry a rain cover for dust as well as short downpours. Change lenses inside the vehicle rather than out in the open. A rocket blower and a microfiber cloth take up almost no space and can save a trip home with grit in your focus ring. Silica gel packets in your camera bag help control moisture during the rains, roughly March through May and again in November.
Renting vs Buying
Renting a 100-400mm or 200-600mm lens for a two-week trip typically costs USD 150 to 350, depending on the model and rental house. That is a fraction of buying outright. Camera rental houses in Nairobi can often deliver gear to your hotel or send it out with your safari operator. You do not need to arrange anything from abroad. For a once-off trip, renting also solves the luggage problem. You return the glass and never have to store or insure it afterward. If you shoot wildlife several times a year, buying starts to make more financial sense after two or three trips.
Don’t Forget a Second, Wider Lens
Pack a 24-70mm or similar standard zoom for camp life. Use it for the walk to a bush breakfast table before dawn. It also suits star-bed nights under a clear Laikipia sky, and the wide plains shots a telephoto simply cannot hold. Many of our guests’ favorite frames from the whole trip are wide shots of camp at first light, not the wildlife at all.
The BestCamp Safaris Difference
We have packed cameras onto light aircraft ourselves and watched the 15kg limit turn into a real argument at check-in. Our guides know which conservancies allow off-road approaches and which reserves require you to hold your position and let the reach do the work. We plan drive routes around golden hour and camp positioning, not just wildlife sightings. That way your lens has the best light to work with, not just the best subject.
Plan Your Safari Photography Trip
Maybe you are weighing a rented 100-400mm against a longer lens. Or you are wondering how conservancy access changes your kit list. Either way, we can talk it through against your actual itinerary. Get in touch through our contact page. We will help you plan a trip built around the light, the routes, and the camps that give your lens the best chance.


