
 Wildlife Tours
Amboseli National Park is built for photographers. You get elephant herds, swamp reflections, and Mount Kilimanjaro in the same frame. The key is not just finding animals. It is being in the right place when the light works.
This 7-day Amboseli safari photography itinerary is organized by photographic outcomes. Each day has a drive window, a shooting zone, and time to rest. The plan also compares 3-day, 5-day, and 7-day routes, so you can see the trade-off between time, cost, and patience.
How many days do you need in Amboseli for photography?
Plan five full days in Amboseli, or six to seven days including Nairobi transfers, for a serious photography itinerary. Three days can produce strong elephant and Kilimanjaro images. But five days give more sunrise opportunities, weather flexibility, repeated wildlife encounters, and enough midday rest for image review, charging, and backups.
Clouds often cover Kilimanjaro in the afternoon. Dust and haze can blur morning light on some days. A longer stay means you can return to a location when conditions improve. You also avoid the fatigue of rushing between sightings.
Here is how the three common lengths compare. Figures reflect an Amboseli National Park entry fee of USD 90 per adult per day for non-residents.
| Itinerary | Nights | Full photo mornings | Best for |
|---|---|---|---|
| 3-day | 2 | 2 to 3 | Quick trip, first-time safari, low budget |
| 5-day | 4 | 4 to 5 | Serious photographer with moderate budget |
| 7-day | 6 | 5 to 7 | Patient Kilimanjaro and elephant work |
The 7-day version does not mean seven mornings inside the park. It includes two Nairobi transfer days, one conservancy session, and a final short dawn drive before the road back.
What does a 7-day Amboseli safari photography itinerary look like?
Use arrival day for the Nairobi-to-Amboseli transfer and a late drive, days two through four for sunrise and afternoon sessions, day five for a conservancy or specialized elephant shoot, and the final morning for a short dawn drive. Keep midday free for lunch, rest, sensor cleaning, battery charging, and file backups.
Here is the day-by-day shape.
Day 1: Nairobi to Amboseli. Leave Nairobi by road after breakfast. The transfer takes 4 to 5 hours. Settle into camp, then take a late afternoon drive near the park boundary. This session is gentle and gives you time to adjust your camera settings.
Day 2: Sunrise at the swamps. Start before first light near Enkongo Narok or the Ol Tukai area. Elephants move from the plains to water. Use the soft morning light for herd portraits and reflections.
Day 3: Observation Hill and open plains. Drive to Observation Hill for a wide view of the marsh and plains. Then move lower for elephant portraits with cleaner backgrounds. Save late afternoon for warm side light on moving herds.
Day 4: Lake bed and silhouettes. Explore the seasonal lake beds and open savanna. The flat ground gives you long lines and space to isolate subjects. Sunset is ideal for silhouettes of elephants against a glowing sky.
Day 5: Amboseli conservancy day. Spend part of the day in a community conservancy like Kimana. You get quieter surroundings, different positioning, and often a more relaxed pace than the main reserve. This is also the day to retry any early morning Kilimanjaro shots that failed due to cloud.
Day 6: Retry and refine. Use this morning for follow-up work. Return to a swamp or a plain you liked on days two through four. The afternoon is free for backup drives, editing, and packing camera gear.
Day 7: Final dawn and Nairobi. Take one short sunrise drive before your transfer. You can still capture elephants and Kilimanjaro on the way out. The road back to Nairobi takes 4 to 5 hours.
Where and when should you photograph Kilimanjaro and elephants?
Schedule Kilimanjaro landscapes and elephant silhouettes during the first morning light, typically around dawn, when the mountain is most likely to be visible. Photograph elephants near Amboseli’s swamps, use Observation Hill for broad panoramas, and reserve late afternoon for warm side light, silhouettes, and movement across open plains.
Mount Kilimanjaro can be seen from Amboseli, but you should never build the itinerary around one viewpoint. Clouds and haze are common later in the day. That is why the 7-day plan includes several dawn outings. Dry months like June to September and January to February often give clearer skies.
Use this location guide during your three middle morning sessions.
| Location | Best window | What works best |
|---|---|---|
| Enkongo Narok Swamp | First light | Elephant herds, drinking, reflections |
| Ol Tukai area | Sunrise | Kilimanjaro backdrop, herds crossing |
| Observation Hill | Mid-morning | Wide panoramas, marsh and plains |
| Kimana conservancy | Late afternoon | Smaller herds, quieter backgrounds |
What about vehicles, gear, and camera settings?
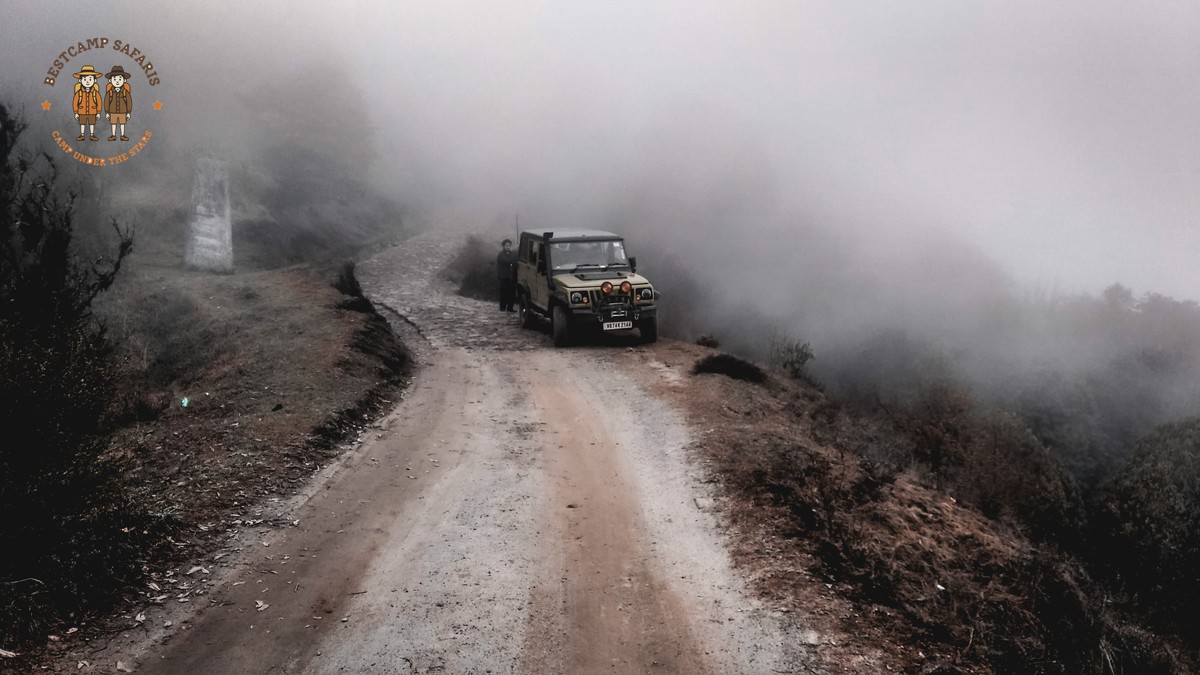
For control, choose a private 4×4 with window access, beanbags, and flexible stops. A private safari vehicle lets you stay longer on a single subject instead of chasing the next sighting. Pack a telephoto lens, spare batteries, and extra memory cards, and set a fast shutter speed for moving elephants, adjusting ISO and exposure compensation as the light changes.
Group vehicles have fixed routes and limited room for lens changes. Before you book, talk through who decides safari vehicle seats. A roof hatch and open window space affect every image you take. If two photographers want the same seat, the itinerary should plan for switching sides on different drives.
For gear, pack a telephoto lens in the 100-400mm or 200-600mm range, a wider lens for landscapes, spare batteries, extra memory cards, a lens cloth, dust protection, and a reliable backup drive. Start with a fast shutter speed for moving elephants, raise ISO as light falls, and use exposure compensation for bright skies or dark subjects.
A camping safari with BestCamp Safaris usually includes transport, meals, and camp support. Read our safari gear checklist so you do not overpack. If you fly in from overseas, your first day will be easier after you read our guide on managing jet lag on safari.
How do you get from Nairobi to Amboseli?
The standard road transfer takes roughly 4 to 5 hours. A scheduled or chartered flight is faster and can preserve more photography time. Road travel costs less in many itineraries. Flying trades higher cost for convenience and a later arrival or earlier departure window.
For a 7-day photo plan, the road transfer works well. You arrive in Amboseli mid-afternoon, settle in, and still catch a late drive. If you are short on time, flying from Nairobi to Amboseli airstrip is worth the extra budget.
The BestCamp Safaris Difference
At BestCamp Safaris, we treat Amboseli as a photography project, not a checklist. We build routes around named camps, private vehicles, and camp positions that shorten your morning drive. Our guides wait patiently when a subject is good, rather than moving on to tick boxes.
BestCamp Safaris can arrange a mobile tented camp closer to the main photographic zones, so you spend less time driving and more time shooting. We also include conservancy options for quieter backgrounds and better positioning. On a camping safari, the camp routine is part of the rhythm: coffee before dawn, packed camera bags, and a warm meal waiting when you return.
Which Amboseli itinerary should you choose?
A 3-day plan suits you if you want a quick test trip or are combining Amboseli with another park. A 5-day route suits you if you have a moderate budget and want four solid mornings of photography. The full 7-day Amboseli safari photography itinerary suits you if Kilimanjaro is the centerpiece and you want enough time to wait for the right light.
Whatever length you choose, plan for dawn starts and midday rest. Send us your dates at BestCamp Safaris, and we will build the light around them. You can start planning through our contact page.


